Pablo Giraldo, EIT writes:
Bluebeam and Burgers; If you’ve seen me eating at an airport most likely a burger is in my hands. If you’ve seen me in the office Bluebeam is taking one or two of my screens. So chiming in with my Bluebeam knowledge only makes sense to this blog.
In the past six months, I have been perfecting and improving my “Office to Field” workflow. To spice up the blog, the workflow does a complete 360 coming back to the office as the information tracked in the field on an iPad is essential to eliminating double data entry back on your desktop. This gives jobsites the ability to utilize Bluebeam for all your document management, quantity tracking, and document viewing needs. All at no additional cost to your project’s budget if you already have a Bluebeam license.
So let’s begin with my workflow. With the original package of drawings from the owner, I create a Bluebeam Set. A “Set” is composed of single-page PDFs, or as a colleague also described, it is a database that pulls single PDFs from different folders. Once a Set is created revisions can be added and Bluebeam will automatically stamp and supersede the previous drawings and replace them with the latest ones. After I finish adding my revisions I will print my latest set of drawings to a pdf then distribute it to team members. If you have not used Sets in your current project and are still doing the physical cross out and replace drawings with the latest revision you will be amazed once you master this feature in Bluebeam.
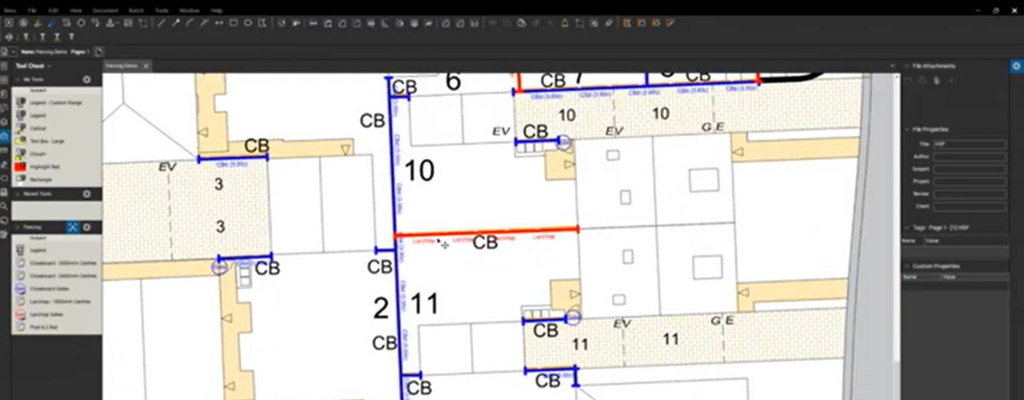
As I continue navigating through this Bluebeam outer galaxy, I am always thinking about how team members and field Superintendents can easily benefit from my workflows. The less complicated the workflows are the more buy-in I get. This leads me to the next step. Creating markups representing essential details, adding hyperlinks to those markups. Then with one tap on the Field Superintendent’s iPad, he can navigate between cross-sections, profiles, structure details, placing prebuilt symbols and adding images.
I quote one of our team members: “This is a game-changer when I’m out in the field.”
Last but not least, the following step is what ties the workflow together and brings it back home; yes, the jobsite trailer! By creating custom columns in Bluebeam, I can easily track quantities in the field.
- I can set Statuses on a markup, whether an item has been installed or not.
- I can create a column that allows me to pick a date certain items were installed, by using a drop-down menu on my iPad.
- Custom formulas can be created to generate cubic yards based on an area and the desired depth.
- I can also create a column that allows me to pick a section or floor on the job based on drop-down menus.
All these custom columns are created on my desktop, then I upload my plans to a Bluebeam Session and to the field I go with my iPad to track quantities. Once back in the office double data entry is eliminated.
I hope you enjoyed this post from Pablo showcasing his digital jobsite workflows. You can see he is learning ways of using the software they already own to benefit the entire project lifecycle. If you or someone you know is changing the way you do business using Bluebeam Revu, I’d love to help tell your story here on Bluebeam And Burgers. Send me an email at Troy.DeGroot@BluebeamAndBurgers.com and we can work on it together.
Don’t forget to register/subscribe to my blog so you don’t miss any future tips, tricks, and workflows.


We absolutely love your blog and find the majority of your post’s to be precisely what I’m looking for. Do you offer guest writers to write content in your case? I wouldn’t mind publishing a post or elaborating on a few of the subjects you write regarding here. Again, awesome web site!
If you have a post idea, email it to me at troy.degroot@bluebeamandburgers.com