Bluebeam Revu 2017 – Dynamic Fill

It’s a lot more difficult to be consistent with blog posts then I thought it would be. I will keep things real and genuine, but I will add content as often as I can. I hope you are finding value in what you have seen so far because I have a long, growing list of future posts.
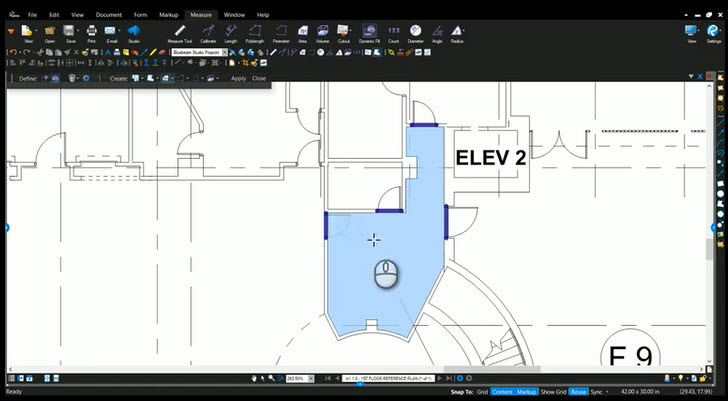
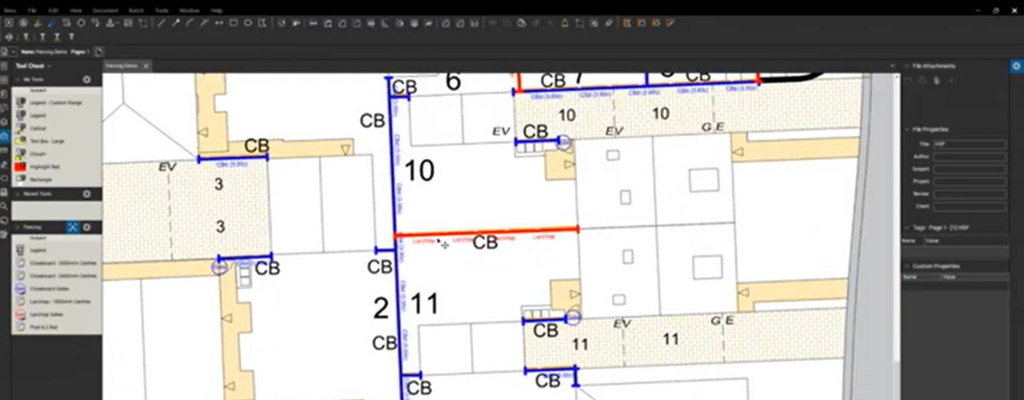
In this video I go over how to use Dynamic Fill and where to find and edit the default settings. This is a great tool because it provides so much information so quickly. With that said, I want to note something that I forgot while recording. Watch the video first and place your area markup as shown.
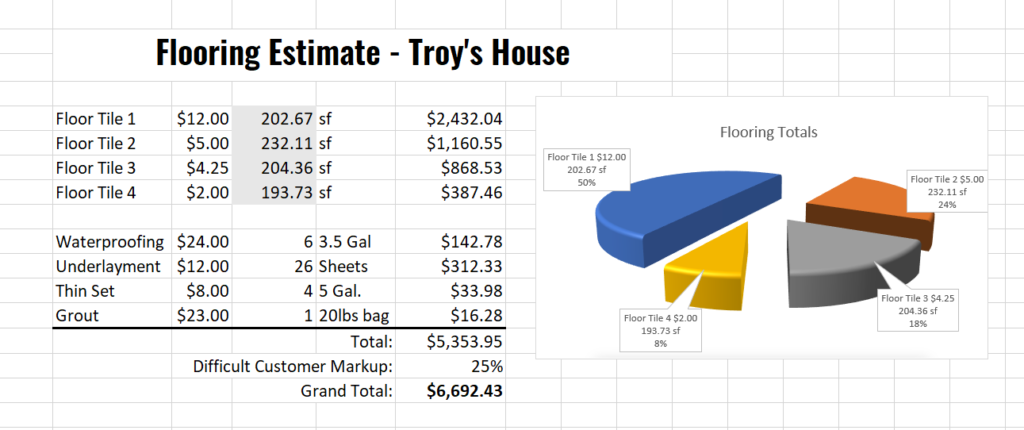
After you have placed the area measurement, go to the Properties tab. There you will find a button “Show Caption”. Click on this button to see what other data you can make visible from the markup you already placed. WOW, Flooring, base trim, wall area for paint and more! I love that you can turn these values on after the fact.
If you have any questions or tips you’d like to share with the community, join the UC2 Brainery forum and work toward your Brainery Black Belt!


Who knew?
Thanks for checking it out Raymond.