Top 5 Tips & Tricks for Collecting Field Data with Bluebeam Revu

In this third and final video in the Collecting Field Data series, I want to quickly go through my Top Five Tips and Tricks.
- Create Spaces to track where on the plan your markups are located. If you walk into a room on-site and want to know all the information associated with that room, simply sort your Markups List by Spaces.
- Custom Columns can be created to track individuals or maybe subcontractors who are responsible for changes or fixes.
- Create Statuses used to track progress on your projects. Whether you use them to mark things complete for yourself internally or the General Contractor who owns the documents.
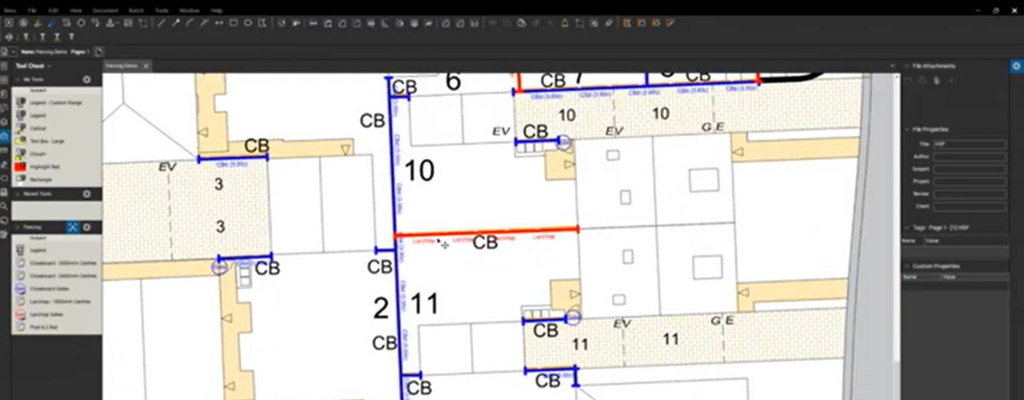
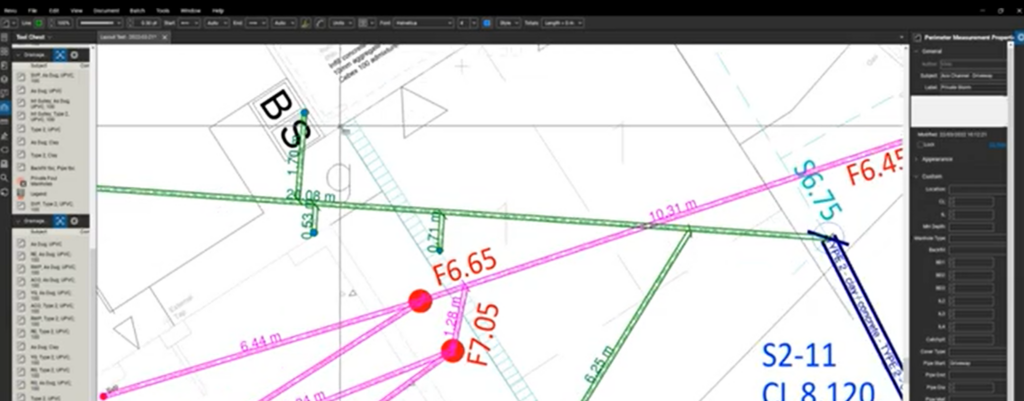
- A custom Legend is a great way to represent the Markups List visually directly on the sheet. Why not make everyone aware of what markups exist on the drawing?
- Summary Reports are extremely powerful using Bluebeam Revu. Creating a PDF Summary report of all the markups on the drawing can be a clean and easy way to transfer information to others on the team. Especially when including a Capture Media Summary which will embed all the images into the document.
That’s it for my Top 5 Tips & Tricks for Collecting Field Data. For those of you who read the full blog, here’s one NOT shown in the video.
Bonus Tip:
Create a Layer naming it the date of the Site Visit and set it to your current layer. This way each return visit can be isolated in view.
If you like this one, check out the first video in the Collecting Field Data series, where I show how to Create Custom Punch Key Symbols and attach images. Last week I shared part two featuring How to Quickly Create and Track RFI’s with Bluebeam Revu. Make sure you click the link to subscribe so you don’t miss out.
If you have any questions or tips you’d like to share with the global community, join the UC2 Brainery forum and work toward your Brainery Black Belt!
For more information on this topic, Click Here for a parallel article written for Bluebeam.


Responses