Managing large numbers of images in your Markups or Presentations

Do you have too many attached images in your markups or presentations causing your files to grow out of control? Managing large numbers of images in your Markups or Presentations can be challenging.
The Bluebeam XCON Conference is always an impressive event. From the classes, case studies and panel discussions to the keynote, networking, and food, Bluebeam always does an amazing job. Looking through my notes to share a “take away”, I came across something I was exposed to for the first time. Let’s take a minute to learn together, at the end leave me your comments or ideas.
While doing Bluebeam demonstrations, classes, and many custom implementations, there are a couple of things I like to disclose to set a correct expectation:
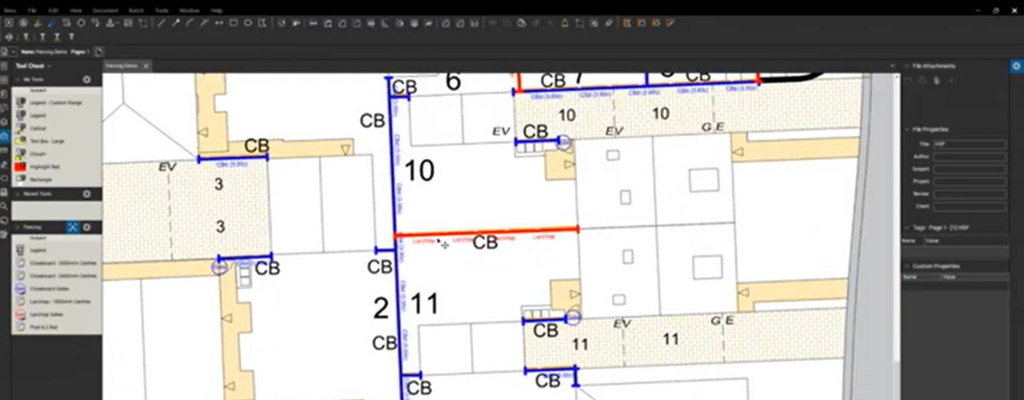
- The functionality of the FlipBook (attaching images to a markup) is one of the only features in Bluebeam Revu that is not ISO (International Standards Organization) supported. What that means is, the individuals who don’t have Revu will not be able to see those images. My workaround is to create a Capture Summary along with the Markup Summary. Click here for directions on creating a Summary in Revu.
- Yes, the file size of the PDF will be affected by the number of images you attach, the same as any other type of document. With the added ability to attaching 360-degree images in Revu 2017 this question comes up even more with customers.
Alright, let’s get to what I learned, and the research I found to design this workflow.
Rather than attaching images to your PDF, let’s store those images in Google Photos (or other online external viewers) and use the power of hyperlinks in Revu. This will keep your files lightweight.
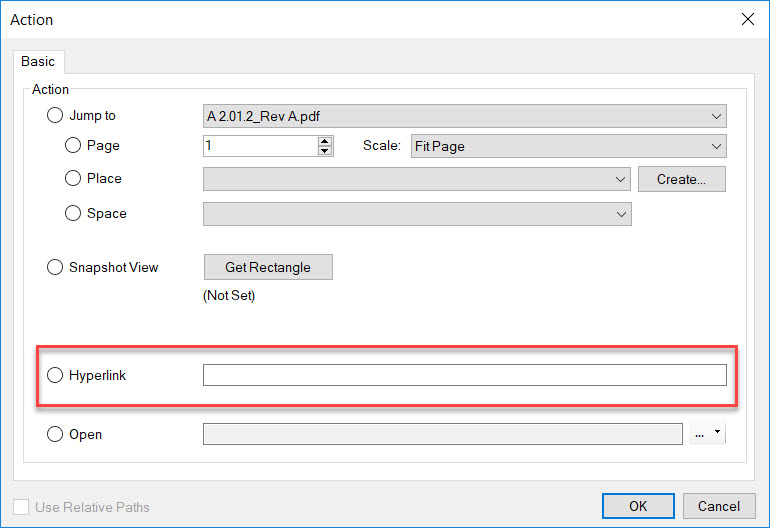
Let me introduce you to a blog written by Sarah Rainbergeris. She’s a Techy Tutor and Photographer from Ontario who has found the secret to linking individual images from Google Photos. This means you don’t have to attach large numbers of images to your drawings anymore. Walkthrough her easy to follow directions. Once you have the link, simply select a markup in Bluebeam, right-click and select Edit Action. Now you can paste the link in the Hyperlink field. These links are available to everyone regardless of whether they have Revu or not.

As you can see, the workflow is there, but might be a little cumbersome for a long list of construction site photos. I haven’t tested this one, but she also has an additional article where she goes through the process of embedding an entire Google Photo Album. This workflow may streamline some of the linking processes by grouping site photos by room or area into albums before linking.
As always, I’m interested in your feedback. If you test the album workflow, let me know how/if it works.
If you have any questions or tips you’d like to share with the global community, join the UC2 Brainery forum and work toward your Brainery Black Belt!
[contact-form-7 id=”302″ title=”Join Bluebeam and Burgers Mailing List”]


Troy
I was just showing one of my field guys the other day how to add a markup to the drawing and use the capture tool to create a flipbook just like you taught me. I actually love the idea of adding the hyperlink to an online folder of pics when there are a lot. However, most of my field personal only have iPads, so unless I am mistaken, they do not have access to the edit action function.