Adding Images In Bluebeam Revu

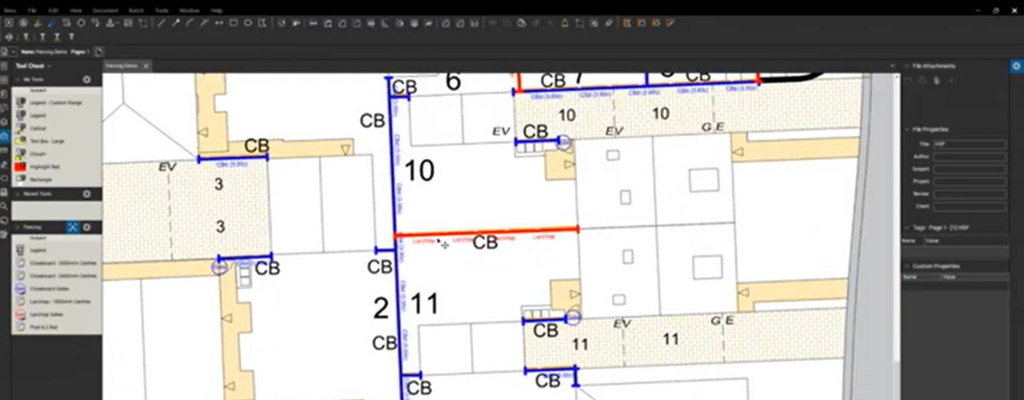
In this post, we are going to be adding images in Bluebeam Revu. I get a lot of surprised looks when I show the Flipbook tool and how we can add images to our PDF drawings. Whether you are performing a Punch Walk, Site Inspection, taking Installation Notes or recording As-Builts, Revu has great tools for marking comments and attaching images, videos or 360 Degree images.
I started my career in a high school internship detailing structural steel for what I think was one of the last companies’ board drafting. I owe my entire career to those four years of picking plans apart to visualize every dimension, beam, column, bolt, and hole. This was where I was first exposed to site visits and field measurements. I learned the importance of how things are built and how collecting more data than needed saves return trips. There’s a little background to the experience behind my writing. While at it, I also want to add some disclaimers, workarounds and tips & tricks, so Click the Image to check out my latest video.

For more information on Linking a large number of images see my post titled Managing large numbers of images in your Markups or Presentations.
For more information regarding 360-degree images reference my post titled Bluebeam Revu – 360-Degree Photos
If you have any questions or tips you’d like to share with the global community, join the UC2 Brainery forum and work toward your Brainery Black Belt!


[…] Adding Images In Bluebeam Revu – U Chapter 2 […]