

 Member
 Thomas Luedke
Member
Forum Replies Created
-
 Points: 233Rank: UC2 Brainery Newbie
I’d go for perimeter markups rather than polylength so that as many markups as possible can be click and drag rectangles, then I would make sensible compromises/subtractions for doorways and nooks. Waste ratios in base are relatively high. If it’s the exact same base spec in every single room then you can just make two tools, one for “Base x1” and one for “Base x2” and mark up the walls, but that’s a less elegant solution
-
Points: 233Rank: UC2 Brainery Newbie
My super hacky conditional column setup described in this Bluebeam community thread allows for what you’re wanting. Long story short, it exploits a weird math equality to allow for me to create a select column called “cost type” which determines how the cost is calculated in the total column. I have options for the following:
– “Cost x M” takes the unit cost and multiplies it by the measurement column (the more boilerplate takeoff standard that most people are familiar with)
– “Cost x M x D” multiplies the cost by the measurement and the depth. This turns any area markup into a volume markup, i.e. pricing sq ft of a tile floor vs pricing cubic feet of a concrete slab in a plan markup. My more common use is that it turns a polylength or perimeter markup into a “depth area” markup which I used to price millwork finished ends or countertops in elevation.
– “Cost x 1” makes the total cost equal to the unit cost. This is for lump sum items that I get a direct quote on from a subcontractor, making where the cost is irrelevant to the measurement.
It’s a long winded way of saying that I went to all this trouble so I could keep the markup pdf as a “living estimate” for our projects which go through constant changes during the course of construction. It became clear that there was a need to create additional columns to add quantity or markup % to measurements.
– The “cost type” field is just a choice column that outputs 1, 2, or 3.
– The “unit cost” field is a simple currency number field
– The “markup” field is a percentage number field that allows me to multiply line item $ amount for padding purposes or to add an OH&P. It is applied in the last formula to the $ amount to get the total.
– The “qty added” field is a simple number input field that allows me to add a flat amount to any quantity, including count markups. You have to be careful because if you make multiple copies of the same count markup, the qty added will be multiplied. If the markups are chained, then the added amount is only applied once (usually the desired outcome).
– Qty total is where the crazy math stuff happens. You don’t need the Lagrange polynomials if you’re okay with just having one way to cost a given markup. You can simply make it a formula that takes the measurement + the qty added field.
– Price total takes the Qty total * Unit Cost * (100 + Markup) / 100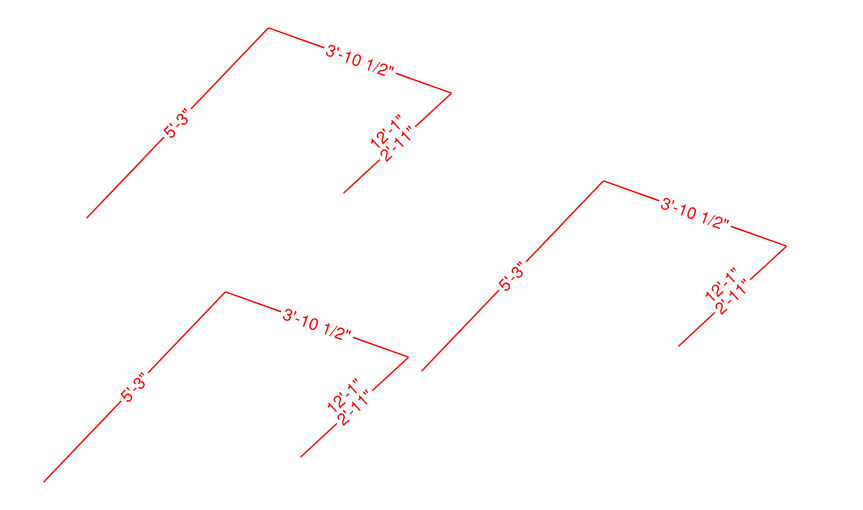
community.bluebeam.com
I found a cool workaround for conditionals in custom columns - Bluebeam Community
Three identical polylength markups: Markups List: I wanted a system that would allow me to choose a pricing based on the measurement itself, the depth area, or a simpler lump sum type value. I highlighted the part of the formula … Continue reading
-
Points: 233Rank: UC2 Brainery Newbie
I think the backend / initial set up of the formula column is definitely confusing. Luckily bluebeam allows for these configurations to persist in saved profiles. The frontend use is very approachable to anyone with estimating experience. All of these concepts should be familiar to them and I’ve had good results onboarding people to this system.
I will say that the markups list is underutilized by many and getting them to understand the mechanics of the markups list itself is the biggest hurdle to get over.